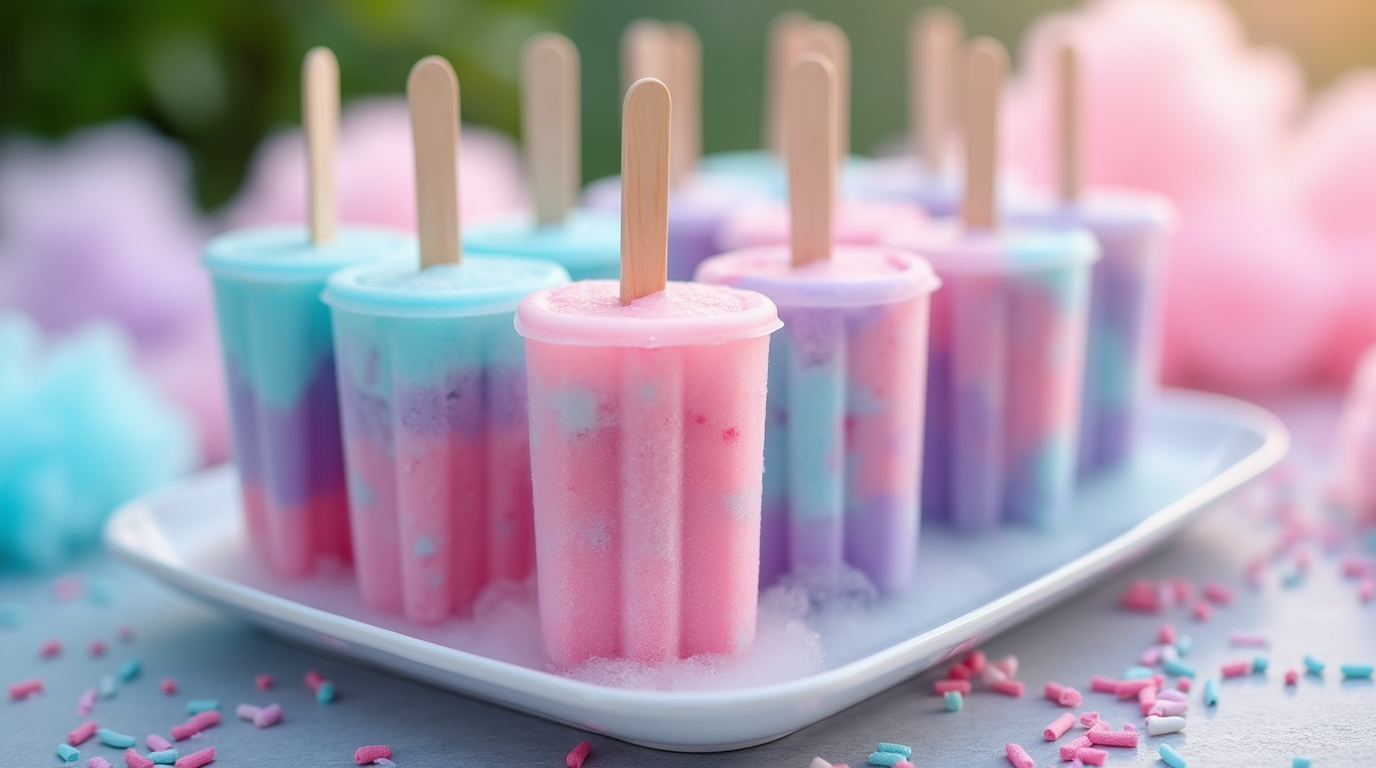
Remember those sunny summer days when the sweet, fluffy taste of cotton candy melted on your tongue at fairs and carnivals? Now you can capture that nostalgic magic at home with these delightful homemade cotton candy popsicles! Easy to make and irresistibly colorful, they’re perfect for parties, picnics, or just a fun afternoon treat with the kids. Whether you love classic sugary goodness or prefer healthier variations, you’ll discover just how simple it is to create these whimsical, kid-friendly desserts. Ready to bring a little magic into your kitchen? Let’s get started!
Table of Contents
Why You’ll Love These Cotton Candy Popsicles
These homemade cotton candy popsicles aren’t just your average frozen treat—they’re a nostalgic, whimsical dessert that transports you straight back to childhood fairs and carnivals. Whether you’re planning a summer party, treating your kids, or simply craving a sweet, refreshing snack, these popsicles have something special for everyone.

🔹 Key Benefits of Cotton Candy Popsicles
- Simple to Make:
Forget complicated dessert recipes! With just a few basic ingredients and minimal preparation time, you’ll have these delightful popsicles in the freezer in no time. - Kid-Friendly Dessert:
Colorful and sweet, these cotton candy popsicles will become your kids’ favorite treat. They can even help you layer and swirl the colors, making dessert prep a fun family activity! - Perfect for Parties:
Serve these at birthday parties, picnics, or backyard barbecues. Their magical colors and cotton candy flavor will surely impress guests of all ages. - Customizable Flavors:
You can easily adjust ingredients to match dietary needs or flavor preferences—think dairy-free yogurts, sugar-free syrups, or natural fruit juices for healthier variations. - Visually Stunning:
Thanks to colorful layers, vibrant swirls, and optional edible glitter, these popsicles don’t just taste great—they look stunning, too.
🔹 The Secret Behind the Magic
The beauty of these DIY cotton candy popsicles lies in carefully layering colors and flavors, creating that unmistakable fairground charm. Using full-fat yogurt or creamy coconut milk ensures a smooth, velvety texture, while the cotton candy flavoring brings a touch of nostalgia in every bite.
Looking for more inspiration? Check out our Ultimate Guide to Homemade Popsicles for endless flavor combinations!
With these tips in mind, let’s gather your ingredients and start creating a little frozen magic!
Essential Ingredients for Cotton Candy Popsicles
Ready to create your own batch of magical cotton candy popsicles? Let’s start by gathering the ingredients. The best thing about this treat is that it’s customizable, simple, and requires just a handful of items you might already have in your kitchen. Here’s exactly what you’ll need:
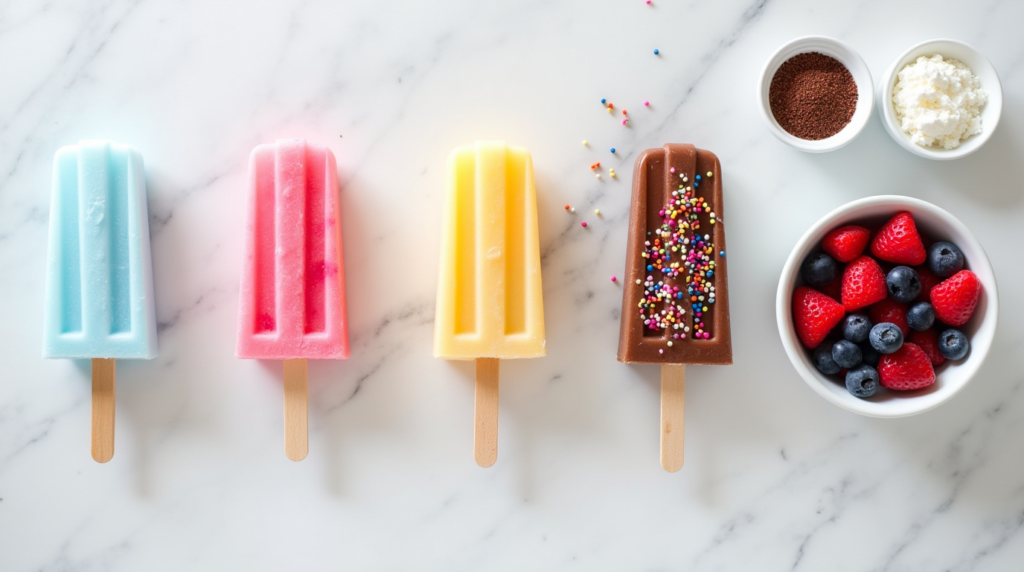
🔹 Main Ingredients
- Cotton Candy Flavoring or Syrup:
The heart of your recipe! You can easily find cotton candy syrup at grocery stores, specialty baking shops, or online. A few tablespoons are all you need to bring authentic cotton candy flavor to your popsicles. - Vanilla Yogurt (or Coconut Yogurt for Dairy-Free):
Yogurt adds creaminess, giving your popsicles a rich, velvety texture. Use full-fat yogurt for the creamiest results or opt for dairy-free alternatives if you prefer. - Milk or Coconut Milk:
A small amount of milk helps achieve the perfect pourable consistency. Choose whole milk or creamy coconut milk to keep your popsicles rich and smooth. - Natural Sweetener (Optional):
Depending on your taste and the sweetness of your yogurt, you may want a drizzle of honey, agave, or maple syrup to balance flavors.
🔹 Ingredients for Magical Colors & Toppings
- Food Coloring (Pink, Blue, Purple):
Classic cotton candy colors help make your popsicles irresistible and visually appealing. Use gel or natural food colorings to achieve vibrant, swirl-friendly shades. - Edible Glitter or Sprinkles (Optional):
Add a pinch of edible glitter or colorful sprinkles for extra sparkle and fun—perfect for parties and special occasions!
🔹 Tools & Supplies You’ll Need
- Popsicle Molds (Silicone or Plastic):
Silicone molds are great for easy removal, but any popsicle mold you have will work beautifully. - Wooden or Reusable Popsicle Sticks:
Don’t forget these to make your popsicles easy to hold and enjoy. - Blender or Mixing Bowls & Whisk:
You’ll need these to blend your ingredients until creamy and smooth. - Measuring Cups and Spoons:
Accurate measurements ensure perfect popsicle texture and sweetness.
🔹 Pro Tip for Ingredients:
For healthier or sugar-free versions, substitute cotton candy syrup with natural fruit juices or flavorings and sweeten with stevia or another low-calorie sweetener.
With these simple ingredients ready, you’re well on your way to creating the most delightful homemade cotton candy popsicles. Next, I’ll Walk you through the easy step-by-step instructions to bring it all together!
Step-by-Step Guide to Making Cotton Candy Popsicles
Now that you have all your ingredients and supplies ready, it’s time to create your magical frozen treat! Making homemade cotton candy popsicles is fun, easy, and perfect to do with kids. Just follow these simple steps to ensure each popsicle turns out beautifully colorful, perfectly creamy, and absolutely delicious.
🔹 Step 1: Prepare the Popsicle Mixture
- In a mixing bowl or blender, combine:
- 1½ cups of vanilla yogurt (or coconut yogurt for dairy-free)
- ½ cup of whole milk or coconut milk
- 3 tablespoons of cotton candy flavoring or syrup
- Optional sweetener (honey or maple syrup to taste)
- Whisk or blend until the mixture is completely smooth, creamy, and well combined.
Tip:
Make sure your yogurt and milk are cold from the fridge—this helps the mixture set better in the freezer.
🔹 Step 2: Add Magical Colors
- Divide the mixture equally into three small bowls.
- Add a few drops of food coloring into each bowl to create classic cotton candy colors—think soft pink, sky blue, and pastel purple.
- Gently stir each bowl until you have vibrant, evenly colored mixtures.
Tip:
Start with 2-3 drops of food coloring and add more gradually until you reach your desired shade.
🔹 Step 3: Layer & Swirl for Visual Appeal
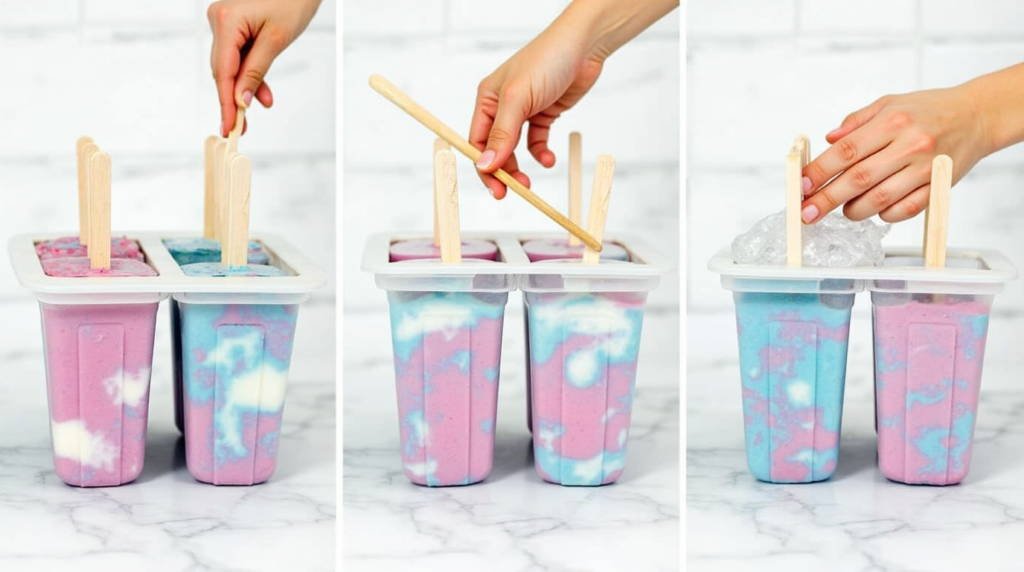
- Using a spoon, carefully layer the different colored mixtures into your popsicle molds, alternating colors to create a beautiful striped effect.
- To achieve a magical swirl:
- Insert a wooden skewer or butter knife into each mold.
- Gently swirl around a few times (don’t over-mix—you want distinct colors).
- Add a pinch of edible glitter or sprinkles on top if desired for extra sparkle.
Tip:
Fill molds up to about ¼ inch from the top to leave room for expansion while freezing.
🔹 Step 4: Insert Sticks and Freeze
- Place your popsicle sticks securely into each mold.
- Set molds carefully on a flat surface or baking tray to ensure they freeze evenly without spilling.
- Freeze for at least 4-6 hours or ideally overnight, until fully solidified.
Tip:
For easier removal, run the molds briefly under warm water right before serving—this helps popsicles slide out effortlessly!
For more tips on getting those beautiful swirls, explore our post on How to Make Perfect Popsicles: Secrets for Success.
🔹 Final Thoughts Before Freezing
You’ve done it! Your magical cotton candy popsicles are ready for freezing. All that’s left is to patiently wait as the freezer works its magic. In the meantime, let’s move on to exploring some pro tips, exciting variations, and serving suggestions to make this treat even more spectacular!
Pro Tips & Creative Variations for Cotton Candy Popsicles
You’ve successfully prepared your cotton candy popsicles, but why stop there? Let’s explore some insider tips and delightful variations that will help you customize this magical frozen treat even further. Whether you’re looking for healthier options, extra flavor, or just some fun additions, these tips will ensure your popsicles turn out perfect every single time.
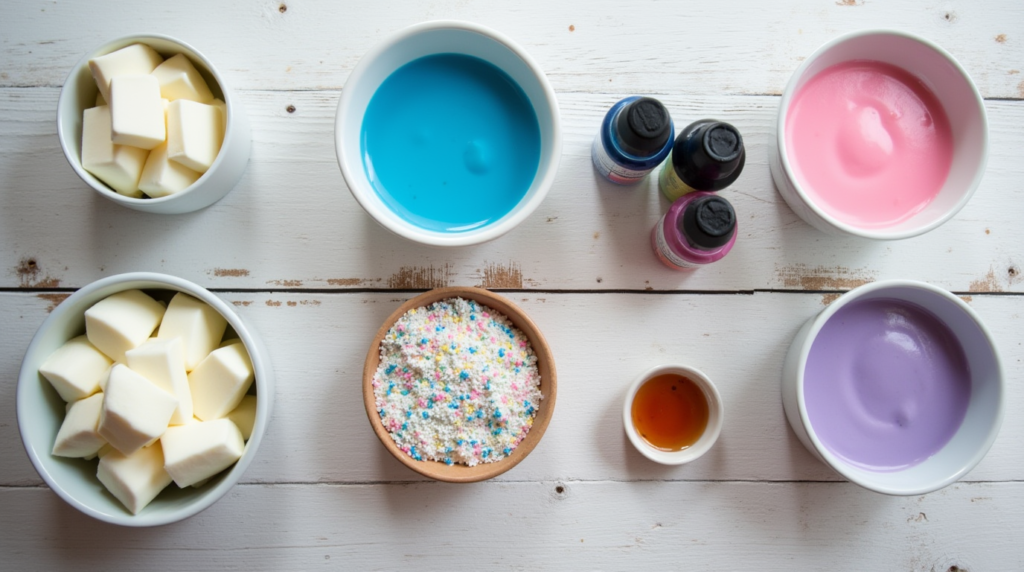
🔹 Pro Tips for Popsicle Perfection
- Preventing Ice Crystals:
Add a tablespoon of honey, maple syrup, or agave nectar to your popsicle mixture. Natural sweeteners help create a smoother, less icy texture. - Easy Removal from Molds:
Before serving, dip your popsicle molds quickly into warm water (just a few seconds) to release popsicles smoothly without breaking. - Creamy, Dreamy Texture:
Using full-fat yogurt or creamy coconut milk results in velvety, rich popsicles. Lower-fat options might freeze slightly harder, so keep that in mind when choosing your ingredients. - Consistent Layering:
When creating layers, freeze each color for 10–15 minutes before adding the next. This ensures clear, defined layers rather than blended colors.
🔹 Delicious Flavor Variations
- Fruit-infused Magic:
Blend fresh berries or tropical fruits into your yogurt mixture for extra flavor and nutrition. Strawberries, mango, or blueberries pair perfectly with cotton candy syrup. - Creamy Vanilla Twist:
Add a splash of vanilla extract or vanilla bean paste to the yogurt mixture to boost sweetness and add depth of flavor. - Citrus Zing:
Stir in a tablespoon of freshly squeezed lemon juice or lime juice to balance sweetness and create a refreshing twist. - Chocolate Delight:
Drizzle melted chocolate on top of frozen popsicles or dip the frozen treats into chocolate sauce, then quickly refreeze for a decadent surprise.
🔹 Healthier & Special Diet Adaptations
- Sugar-Free Version:
Substitute cotton candy syrup with sugar-free flavored syrups or natural fruit puree and use stevia or monk fruit sweetener for a lower-sugar treat. - Dairy-Free & Vegan Popsicles:
Use coconut or almond yogurt combined with coconut milk for a creamy, dairy-free alternative that’s equally delicious. Interested in dairy-free options? Check out this delicious recipe for 13 Vegan Frozen Desserts You Can Make at Home. - Natural Coloring:
For a healthier, more natural popsicle, use pureed fruit juices (such as blueberries, raspberries, or dragon fruit) instead of artificial dyes.
🔹 Fun Decorative Ideas
- Edible Glitter & Sprinkles:
Before freezing, sprinkle a pinch of edible glitter or colorful sprinkles on top for a sparkly, magical finish that kids (and adults!) will love. - Festive Molds & Shapes:
Use whimsical molds such as stars, hearts, or animal shapes to delight younger family members and party guests.
Your Popsicles, Your Way
These pro tips and creative variations make your homemade cotton candy popsicles even more exciting and personalized. Experimenting with different flavors and decorative touches will allow you to tailor these magical treats perfectly to your tastes and dietary preferences. Next, let’s explore some delightful serving suggestions that’ll wow your family and friends!
Fun & Creative Serving Suggestions for Cotton Candy Popsicles
You’ve crafted beautiful and delicious homemade cotton candy popsicles—now let’s talk about the best ways to present and enjoy them! Serving your treats creatively can enhance the overall experience, making them even more memorable and enjoyable for family, friends, and party guests alike.
Here are some easy and delightful ideas to help you serve your popsicles in a way that truly showcases their whimsical charm.
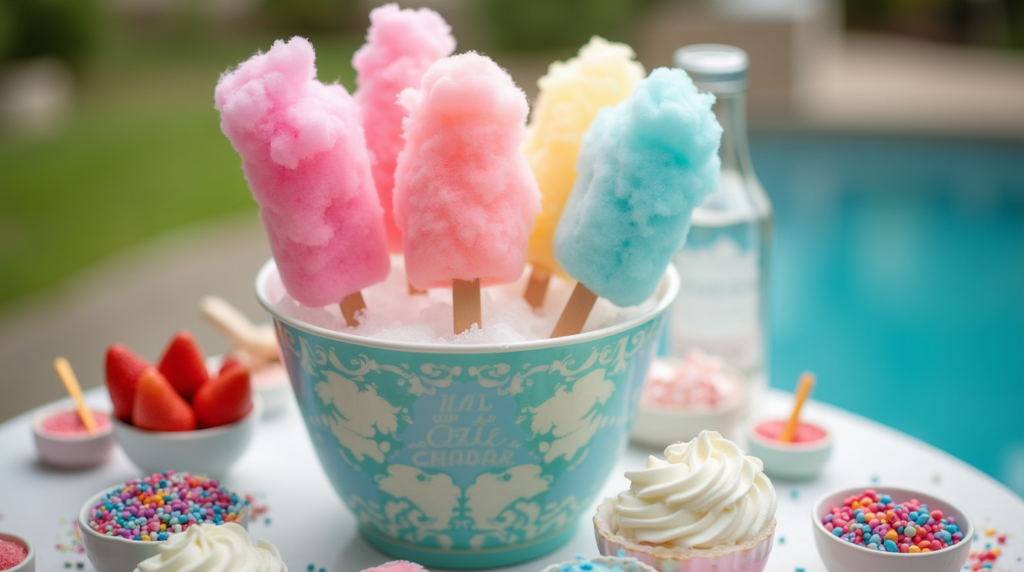
🔹 Presentation Tips for Magical Impact
- Whimsical Display:
Arrange popsicles upright in a bowl filled with colorful jelly beans, sprinkles, or pastel-colored candies. It makes for a cheerful and inviting presentation, perfect for parties or gatherings. - Ice Bucket Magic:
Serve popsicles on ice by placing them individually in a decorative ice bucket or cooler filled with crushed ice. This keeps them cool and ready-to-enjoy outdoors, at picnics, or pool parties. - DIY Popsicle Bar:
Set up a fun popsicle station where guests can customize their cotton candy popsicles. Include toppings like sprinkles, chocolate drizzle, fresh fruits, whipped cream, and edible glitter.
🔹 Perfect Pairings to Complement Your Popsicles
- Fresh Fruit Skewers:
Pair popsicles with fresh seasonal fruit skewers like strawberries, pineapple, and watermelon. This balances sweetness with refreshing fruitiness and provides additional color and texture. - Mini Cotton Candy Garnishes:
Add a small fluff of actual cotton candy on top of each popsicle right before serving. This fun garnish will delight both kids and adults, reinforcing the playful cotton candy theme. - Dessert Dip:
Prepare a creamy dip (think whipped cream blended with vanilla yogurt or melted white chocolate) to accompany your popsicles. Guests can dip or drizzle for added decadence.
🔹 Special Occasion Ideas
- Birthday Parties:
Use popsicles instead of cake slices or cupcakes, and decorate each popsicle stick with colorful ribbons or personalized name tags as party favors. - Summer Gatherings:
Arrange a colorful selection of popsicles in different flavors and colors, served with refreshing drinks like lemonade, iced tea, or sparkling water infused with fruit. - Themed Events:
Customize colors and decorations to match your event’s theme, such as pastel shades for baby showers or glittery toppings for festive celebrations.
🔹 Practical Serving Tips
- Keep Them Cold:
Always serve popsicles immediately after removing them from the freezer to maintain optimal texture and prevent melting. - Handle with Care:
Provide napkins or popsicle holders (silicone or paper cupcake liners work great!) to catch drips and keep hands clean.
By using these simple yet creative serving suggestions, your cotton candy popsicles will become more than just a tasty frozen dessert—they’ll be an experience filled with fun, color, and magical charm. Next, let’s wrap things up by summarizing what makes this recipe special, along with answers to some common questions!
Congratulations—you’ve just mastered creating your very own cotton candy popsicles! With their dreamy, pastel colors and sweet, whimsical flavor, these frozen treats are sure to become a favorite in your household. Perfect for parties, summer afternoons, or any moment when you’re craving something delightfully magical, these popsicles offer a refreshing twist on classic frozen desserts.
Here’s a quick recap of what makes this recipe truly special:
- Easy & Fun:
Simple ingredients, minimal preparation, and endless creative possibilities make them great for beginners and seasoned dessert enthusiasts alike. - Fully Customizable:
You can adjust sweetness, colors, and mix-ins to match your preferences or special occasions. - Perfectly Refreshing:
The light, airy taste of cotton candy combined with a cooling popsicle texture is a treat for the senses. - Kid-Friendly Delight:
Kids adore these colorful popsicles—they’re a guaranteed hit at parties and gatherings!
Now that you’ve discovered how easy it is to whip up these charming treats, it’s time to get creative! Experiment with colors, flavors, and garnishes, and most importantly—have fun! Ready to become a popsicle pro? Dive into your next batch of cotton candy popsicles and savor the magical results.
Still curious about popsicle perfection? Don’t miss the handy FAQs coming up next, packed with tips and answers to common questions.
FAQs: Everything You Need to Know about Cotton Candy Popsicles
Have a few questions about making these delightful cotton candy popsicles? You’re not alone! Here are some of the most common questions along with practical, friendly answers to help you perfect this magical frozen treat every time.
Q1: Can I make these popsicles without actual cotton candy?
A: Absolutely! If you don’t have real cotton candy available, simply use cotton candy flavored syrup, cotton candy flavoring extracts, or even cotton candy-flavored yogurt to achieve a similar sweet, nostalgic flavor.
Q2: Why are my popsicles icy instead of creamy?
A: Popsicles become icy when there’s too much water content. To fix this:
- Use full-fat yogurt or coconut milk to increase creaminess.
- Add a natural sweetener like honey, agave syrup, or maple syrup, which helps prevent ice crystals.
Q3: How long do cotton candy popsicles last in the freezer?
A: For best flavor and texture, enjoy your popsicles within about 2 weeks. However, if properly stored in an airtight container, they can remain safe and tasty for up to one month.
Q4: Can I add fruit or other mix-ins to these popsicles?
A: Definitely! You can easily add small pieces of fresh fruit like berries or mango chunks. Mini marshmallows, chocolate chips, or colorful sprinkles also make delightful additions and add visual appeal.
Q5: How can I make these popsicles vegan or dairy-free?
A: Simply substitute dairy yogurt and milk with coconut yogurt, almond yogurt, or coconut milk. These plant-based alternatives create creamy popsicles that taste amazing and fit vegan dietary preferences perfectly.
Q6: What’s the easiest way to remove popsicles from the molds?
A: Briefly run your popsicle molds under warm water for about 10–15 seconds, then gently wiggle the popsicle sticks to release. This ensures they slide out effortlessly without breaking or melting too quickly.
Still have a question or a creative idea you’d love to share? Drop it in the comments below—I’d love to hear from you!
Cotton Candy Popsicles
Scoop & Score
There are no reviews yet. Be the first one to write one.
